Accessing Your Lesson Materials Teacher Dashboard
This article will assist you in accessing your Lesson Materials Dashboard. To download a PDF version of this article, click here.
You can now access both MATHia and Lesson Materials via a single login through MyCL.
- If you are a Clever or Classlink customer, you should have a Carnegie Learning icon on your desktop (or via your Cleve3r or Classlink portal) where you can launch MyCL and access your resources.
- If you are not a Clever or Classlink district, your district math coordinator (or a colleague) should have invited you to your school, prompting an email with first time login instructions.
- You can always login here: www.carnegielearning.com/login.
Once you have launched MyCL, you can access the Lesson Materials Teacher Dashboard by clicking Lesson Materials and MATHia (from the teacher’s perspective) by selecting Teacher’s Toolkit. (NOTE: You may not see classes and students in either until you set them up via Teacher’s Toolkit.)

In order to set up classes (and students) in both MATHia and the Lesson Materials, you’ll want to start in Teacher’s Toolkit. (Unless you are a Clever or Classlink customer - then, your classes and students should already appear in both Teacher’s Toolkit and Lesson Materials.)

To add a new class, click Create New Class and use the Class Creation Wizard:
- Pick Product: Make sure MATHia is selected.
- Define Class Details: Fill in the information that represents the class you are creating.
- Select Content: Choose a Constructed Course will automatically add the content for your choice of grade level.
- On the left, select your course, then choose Continue and Save & Continue on the following screen.
- Add Students: You can manually enter your students by selecting Add New Students or upload a CSV file to Import Your Class Roster.
Repeat this process for each of your classes.
The morning after your classes (and students) are set up in Teacher’s Toolkit, you should also see them in your Lesson Materials Teacher Dashboard. (NOTE: It takes an overnight sync for classes created in Teacher’s Toolkit to be imported into the Lesson Materials Teacher Dashboard.)
Once you have set up classes in Teacher’s Toolkit (and a night has passed), you can access the Lesson Materials Teacher Dashboard by clicking Lesson Materials. (NOTE: You will also need to add content to each of your classes in the Lesson Materials Dashboard as well.)
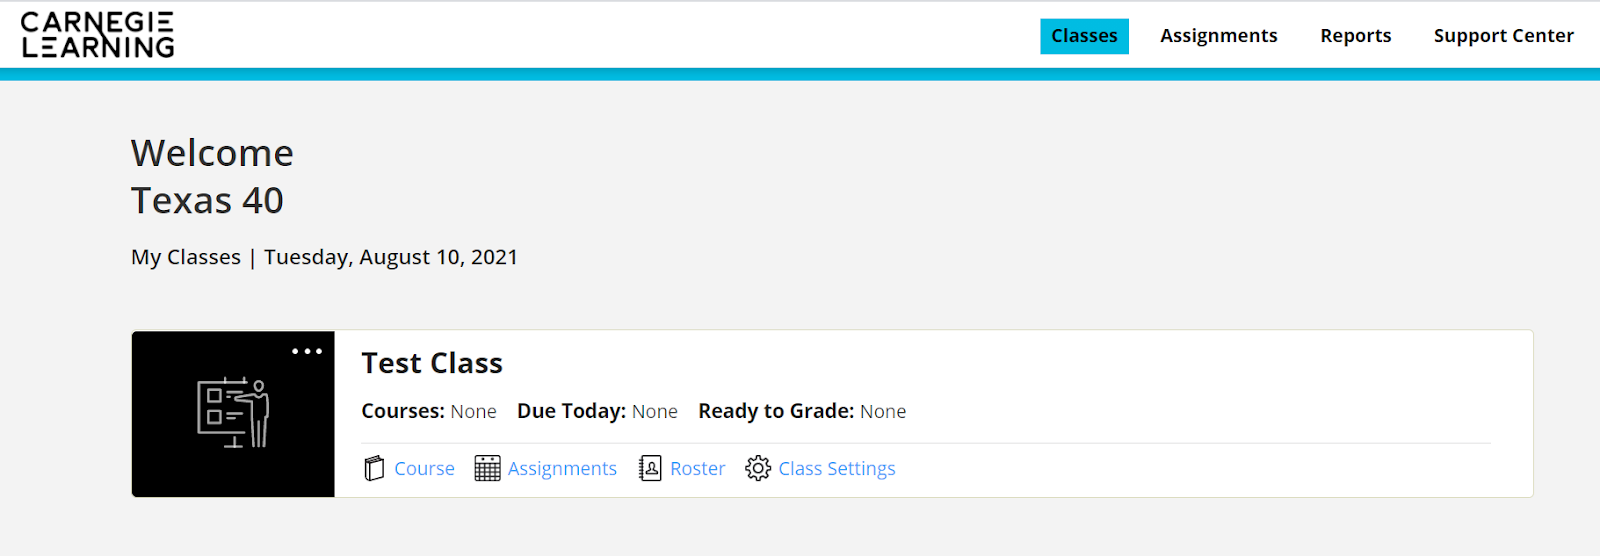
Once you see the class, Click on the Course hyperlink and then the Add Course button in the top right-hand corner to select the course materials you would like this class to have access to.

In order to see and browse lesson content, you will need to create a “Test Class” for yourself. You will set that up in Teacher’s Toolkit and the following morning you will be able to see it in your Lesson Materials Teacher Dashboard. Use that class to browse and test out content before you assign to your real classes.
The only roster-related change that you can perform in the Lesson Materials Dashboard is to enable TextHelp. To do that, you will click on the Roster hyperlink in the Class Card and then toggle the TextHelp button for any student who needs Text to Speech for Lesson Materials turned ON. This is also a Student Preference so students can turn Text to Speech ON in their preferences section. (NOTE: You cannot edit any of the roster information in the Lesson Materials Dashboard. Editing First Name, Last Name, removing a student, adding a student, adding a class, removing a class, etc. must be done in MyCL through Teacher’s Toolkit and those changes will reflect in the Lesson Materials Dashboard after a night has passed.)

The following experiences have NOT CHANGED from the 2020-2021 version of the Texas Math Solution.
- Adding course content to classes
- Enabling Text to Speech for Lesson Materials
- Assigning content to students
- Grading student work
- Lesson Materials reports, both Course Reports and Standards Reports